


How to Build Incredible Custom Gutenberg Blocks: The Ultimate Developer Guide
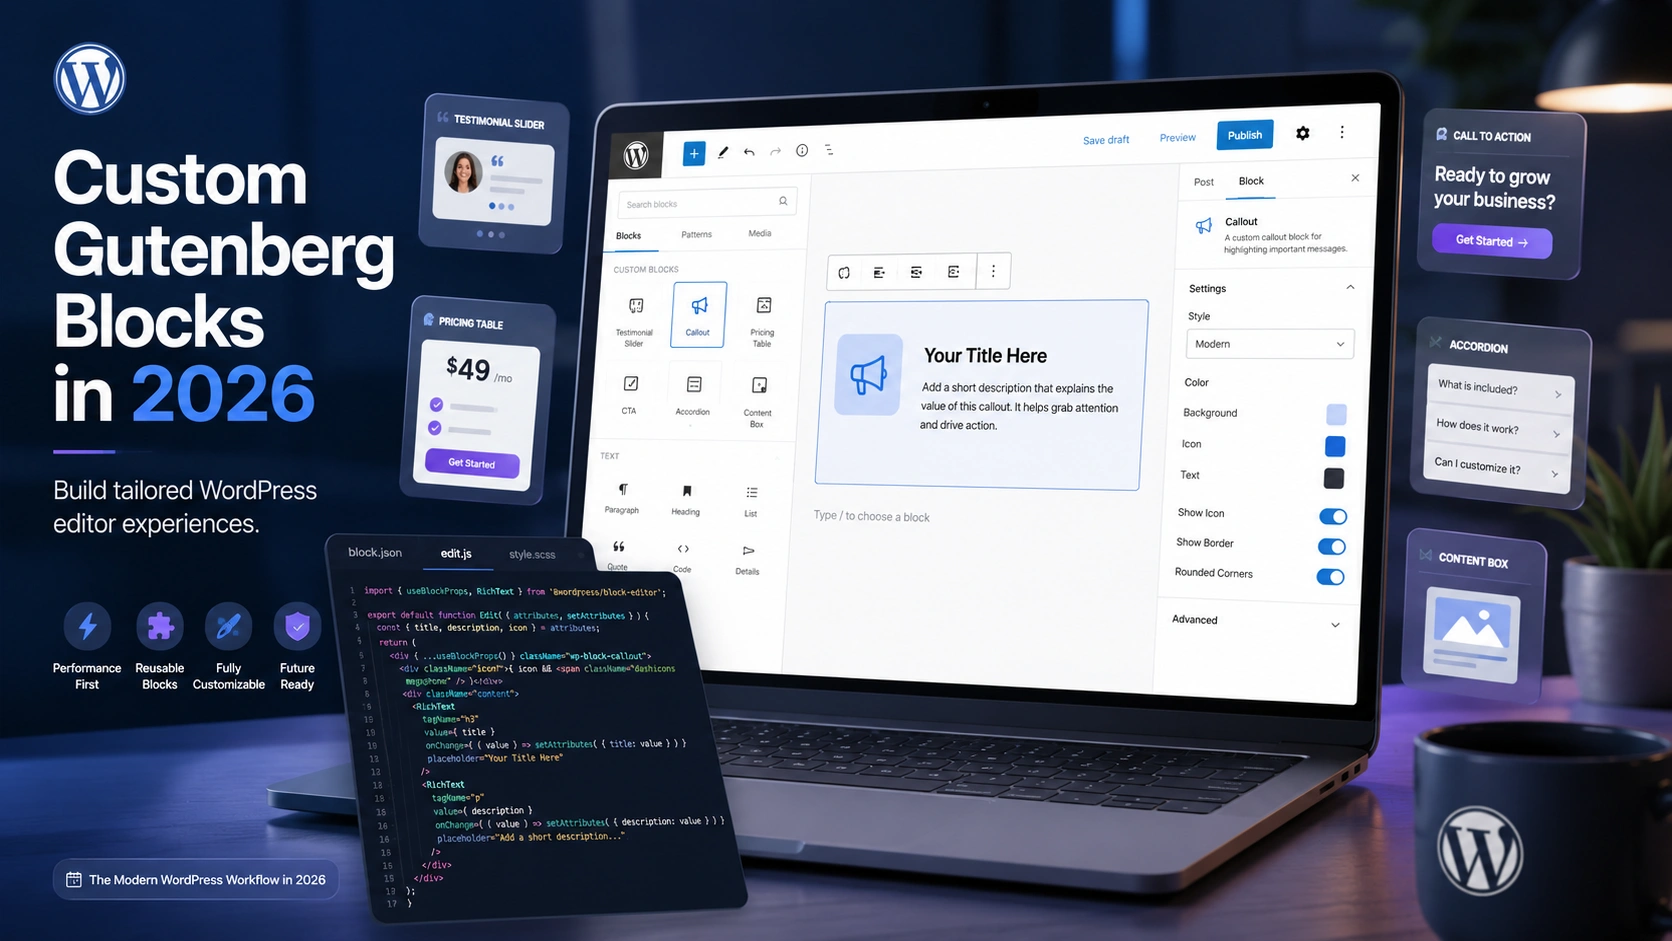
Table of Contents
If you’ve been building WordPress sites for any length of time, you’ve probably hit the limits of core blocks. You need something tailored — a testimonial slider, a pricing table, a custom CTA that matches your brand exactly. That’s where custom Gutenberg blocks come in, and in 2026 they’re more powerful and easier to build than ever before.
I’ve built dozens of custom blocks for client projects over the past few years, and the tooling has matured dramatically. This ultimate guide walks you through everything from scaffolding your first block to handling complex attributes and inspector controls — with real code you can use today.
Why Custom Gutenberg Blocks Are Essential in 2026
WordPress powers over 40% of the web, and the block editor is the default content experience. While the core block library covers the basics — paragraphs, images, headings — most business sites need components that go far beyond what ships out of the box.
Custom Gutenberg blocks let you build exactly the editor experience your clients need. They’re reusable, consistent, and nearly impossible for content editors to break. Instead of relying on fragile shortcodes or page builder widgets with hidden dependencies, you create first-class editor components that feel native to WordPress.
The WordPress 6.7+ era brought major improvements to the Block Bindings API and the Interactivity API, making blocks capable of things that previously required separate JavaScript applications. If you’ve been on the fence about learning block development, now is the time. The Block Editor Handbook is the canonical resource and should be your constant companion throughout this guide.
Setting Up Your Custom Gutenberg Blocks Development Environment
Before writing any block code, you need a local WordPress environment and Node.js installed. I recommend Local by Flywheel or wp-env for the WordPress side, and Node.js 18+ for the JavaScript toolchain.
The fastest way to scaffold a new block is with the official @wordpress/create-block tool. Open your terminal inside your WordPress plugins directory and run:
npx @wordpress/create-block my-custom-blockThis generates a complete block plugin with the correct folder structure, a block.json manifest, edit and save components, and a build script powered by @wordpress/scripts. It’s the officially recommended starting point, and the official block development tutorial walks through each generated file in detail.
Once scaffolded, start the dev server:
cd my-custom-block
npm start
This watches for file changes and rebuilds your block automatically. Activate the plugin in WordPress, and you’ll see your new block available in the editor’s block inserter immediately.
Building Your First Custom Gutenberg Block Step by Step
Let’s build something practical — a simple callout block with a title, description, and customizable background color. Here’s what the block.json configuration looks like:
{
  "apiVersion": 3,
  "name": "my-blocks/callout",
  "title": "Callout",
  "category": "design",
  "icon": "megaphone",
  "description": "A customizable callout block.",
  "supports": {
    "html": false,
    "color": {
      "background": true,
      "text": true
    }
  },
  "attributes": {
    "title": {
      "type": "string",
      "default": ""
    },
    "description": {
      "type": "string",
      "default": ""
    }
  },
  "textdomain": "my-custom-block",
  "editorScript": "file:./index.js",
  "editorStyle": "file:./index.css",
  "style": "file:./style-index.css"
}
The block.json file is the single source of truth for your custom Gutenberg blocks. It defines metadata, attributes, supported features, and asset paths. WordPress reads this manifest to register your block on both the server and client side — no separate PHP registration needed.
Next, your edit.js component controls what content creators see in the editor:
import { useBlockProps, RichText } from '@wordpress/block-editor';

export default function Edit({ attributes, setAttributes }) {
  const blockProps = useBlockProps();

  return (
    <div {...blockProps}>
      <RichText
        tagName="h3"
        value={attributes.title}
        onChange={(title) => setAttributes({ title })}
        placeholder="Callout title..."
      />
      <RichText
        tagName="p"
        value={attributes.description}
        onChange={(description) => setAttributes({ description })}
        placeholder="Callout description..."
      />
    </div>
  );
}
The RichText component gives content editors a familiar inline editing experience. They type directly into the block — no modal windows, no shortcode syntax. This is what makes custom Gutenberg blocks feel truly native to the WordPress editor.
Adding Inspector Controls to Custom Gutenberg Blocks
Most blocks need settings beyond inline content. The block inspector panel — the right sidebar in the editor — is where you add toggles, dropdowns, color pickers, and other configuration options.
Here’s how to add a “style” selector to your callout block:
import { InspectorControls } from '@wordpress/block-editor';
import { PanelBody, SelectControl } from '@wordpress/components';

// Inside your Edit component's return:
<InspectorControls>
  <PanelBody title="Callout Settings">
    <SelectControl
      label="Style"
      value={attributes.style}
      options={[
        { label: 'Info', value: 'info' },
        { label: 'Warning', value: 'warning' },
        { label: 'Success', value: 'success' },
      ]}
      onChange={(style) => setAttributes({ style })}
    />
  </PanelBody>
</InspectorControls>
WordPress provides a rich library of UI components — ToggleControl, RangeControl, ColorPalette, and dozens more — that match the native editor design language. Your blocks should always use these standard components instead of rolling your own form elements. Consistency matters for the editor experience.
Custom Gutenberg Blocks vs ACF Blocks: Which Approach Wins?
You don’t always need to write React. ACF Blocks, available through Advanced Custom Fields Pro, let you build custom blocks using PHP templates and ACF field groups. There’s no JavaScript compilation step — define your fields in the ACF interface, write a PHP render template, and the block appears in the editor.
ACF Blocks are excellent for agencies shipping client sites on tight timelines, especially when the blocks are mostly presentational. But they come with real trade-offs: the editor experience is less interactive since you’re editing fields in a sidebar rather than inline, and you add a plugin dependency to your project.
Native React-based custom Gutenberg blocks give you full control over the editing experience with zero third-party dependencies. For anything interactive — tabs, accordions, sliders, or blocks that need real-time previews — native development is the clear winner. If you’re weighing whether to go custom or use third-party tools more broadly, my comparison of custom WordPress themes vs page builders covers similar decision-making principles.
Performance Best Practices for Block Development
Custom blocks should make your site faster, not slower. Here are the principles I follow on every project.
Use static rendering where possible. If your block doesn’t need client-side interactivity, define a save function that outputs static HTML. WordPress stores this markup directly in the post content — no JavaScript execution needed on the frontend at all.
Use render.php for dynamic blocks. When a block needs to pull fresh data — latest posts, user-specific content, or live pricing — use server-side rendering via a PHP callback. This keeps the frontend lean while still delivering dynamic content on every page load.
Keep block assets scoped. WordPress 6.5+ supports per-block asset loading via viewScript and viewStyle in block.json. Only the CSS and JavaScript needed for blocks actually present on the page gets loaded. Always use these declarations instead of enqueuing global stylesheets.
If you’re building a site with many custom blocks, hosting performance becomes critical. A managed host like Kinsta handles the server-side caching and CDN delivery that keeps block-heavy pages loading fast under real traffic.
And if your blocks interact with external data or custom endpoints, understanding the WordPress REST API is essential — blocks and the REST API are natural companions in any modern WordPress architecture.
Final Thoughts
Building custom Gutenberg blocks is no longer a niche skill — it’s becoming a core competency for any serious WordPress developer in 2026. The tooling is mature, the documentation is comprehensive, and the demand from clients who want tailored editor experiences keeps growing.
Start with @wordpress/create-block, build a simple block like the callout example above, then iterate. Once you’ve shipped your first custom block and watched a client edit content effortlessly inside it, you’ll wonder how you ever built WordPress sites without them.
Need custom Gutenberg blocks built for your project? I develop tailored block solutions for businesses that need more than what off-the-shelf plugins can offer. Get in touch and let’s build something that fits your content workflow perfectly.